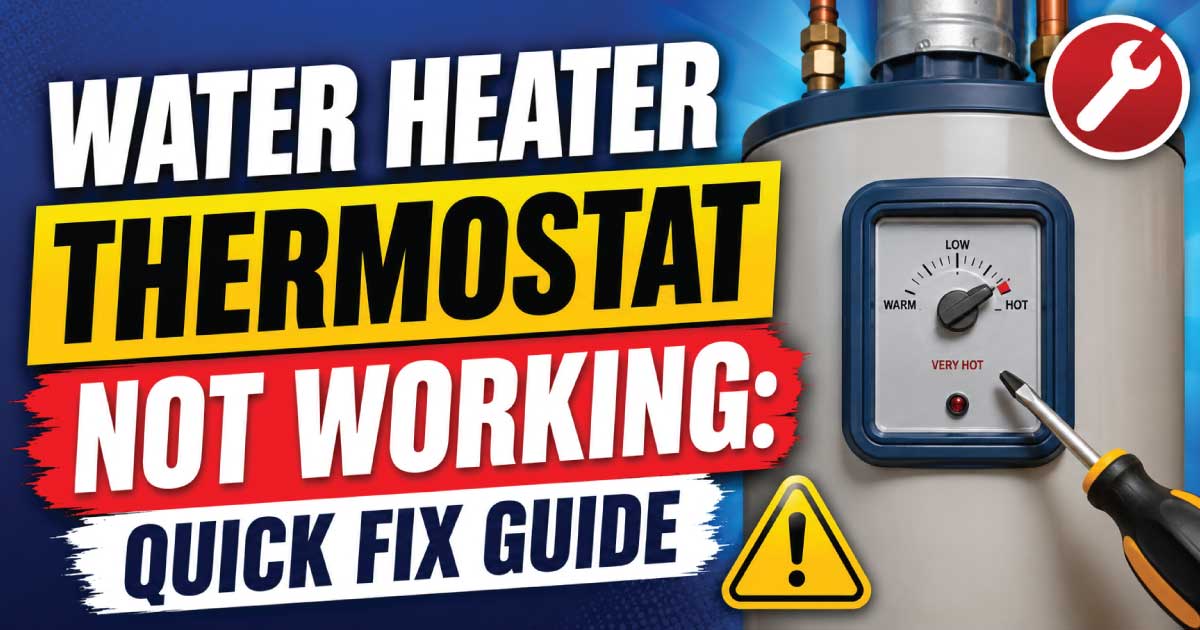
A thermostat not working water heater is one of the most common reasons homeowners suddenly lose hot water or notice inconsistent water temperatures. Whether your water heater delivers only lukewarm water, overheats the water, or stops heating altogether, a faulty thermostat is often involved. However, the thermostat is not always the only problem. Heating elements, electrical issues, wiring faults, reset switches, sediment buildup, and even incorrect thermostat settings can produce similar symptoms.
Addressing the issue quickly helps prevent higher energy bills, unnecessary wear on the water heater, and potential safety risks. Ignoring temperature problems can also shorten the lifespan of heating elements and other internal components.
In this guide, you’ll learn how a water heater thermostat works, recognize the warning signs of thermostat failure, identify the most common causes, and safely troubleshoot the problem step by step. Whether you own an electric storage water heater or are simply trying to determine whether the thermostat is truly at fault, this repair guide will help you make informed decisions before replacing expensive parts or calling a professional.
Common Signs and Symptoms
Recognizing the symptoms early makes troubleshooting much easier. While many people immediately blame the thermostat, several different faults can produce similar results. Understanding the specific behavior of your water heater helps narrow down the real cause.
Common signs include:
- No hot water at any faucet
- Water remains only lukewarm
- Water becomes extremely hot
- Water temperature constantly changes
- Hot water runs out much faster than normal
- High electricity consumption without increased usage
- Water heater reset button frequently trips
- Heating takes much longer than usual
- Clicking sounds without proper heating
- One heating element works while the other does not (on dual-element heaters)
You may also notice that the problem appears only during heavy household use. For example, two people may enjoy normal showers, but the third person receives only cold water. In many cases, this points toward a thermostat or heating element that is no longer switching properly between the upper and lower sections of the tank.
If your water heater suddenly begins producing dangerously hot water, stop using hot taps until the problem is diagnosed. An overheating thermostat can create a serious scalding hazard, especially for children and older adults.
How the Appliance or System Normally Works
Before diagnosing a thermostat problem, it helps to understand how an electric water heater normally heats water. Once you know the heating sequence, identifying an interruption becomes much easier.
Most residential electric water heaters contain:
- Upper thermostat
- Lower thermostat
- Upper heating element
- Lower heating element
- High-temperature reset switch
- Insulated storage tank
The process works like this:
- Cold water enters the bottom of the tank.
- The upper thermostat checks the water temperature.
- If heating is needed, the upper heating element turns on first.
- Once the upper section reaches the target temperature, power transfers to the lower thermostat.
- The lower thermostat energizes the lower heating element.
- Heating continues until the entire tank reaches the selected temperature.
Only one heating element typically operates at a time in standard residential water heaters. This design prevents excessive electrical demand.
When the thermostat fails, this sequence is interrupted. The heating elements may never receive power, remain on too long, or switch incorrectly between the upper and lower sections. As a result, water temperatures become inconsistent or disappear completely.
Most Common Reasons This Problem Happens
A thermostat problem rarely appears without warning. Understanding the most common causes helps you avoid replacing good parts while overlooking the actual fault.
Faulty Thermostat
Thermostats contain electrical contacts that wear out after years of repeated heating cycles. Eventually, the contacts may stick open or closed.
Why it happens
- Normal aging
- Electrical arcing
- Internal mechanical wear
- Manufacturing defects
Symptoms
- No hot water
- Water too hot
- Inconsistent temperatures
- Heater cycles irregularly
How to identify it
Compare thermostat continuity using a multimeter while following the manufacturer’s testing procedure. A thermostat that fails continuity testing or never transfers power between heating elements likely needs replacement.
Burned-Out Heating Element
Many homeowners mistake a failed heating element for a thermostat issue because both produce similar symptoms.
Why it happens
- Mineral buildup
- Dry firing
- Age-related deterioration
- Corrosion
Symptoms
- Limited hot water
- Slow recovery
- Only partial heating
How to identify it
Disconnect power and test the element’s resistance with a multimeter. An open circuit usually indicates a failed element.
Tripped High-Temperature Reset Button
The reset button protects the water heater from overheating.
Why it happens
- Faulty thermostat
- Loose wiring
- Shorted heating element
- Temporary overheating
Symptoms
- Suddenly no hot water
- Heater works briefly after resetting
- Reset trips repeatedly
How to identify it
Remove the upper access panel and check whether the reset button has popped out. If it trips again after resetting, another component is likely causing the problem.
Loose or Burned Wiring
Electrical connections naturally loosen over years of heating and cooling.
Why it happens
- Vibration
- Heat expansion
- Corrosion
- Improper installation
Symptoms
- Intermittent heating
- Burn marks
- Melting insulation
- Burning smell
How to identify it
Perform a careful visual inspection after disconnecting power. Look for darkened terminals, damaged insulation, or loose wire connections.
Incorrect Thermostat Setting
Sometimes the thermostat simply isn’t adjusted correctly.
Why it happens
- Accidental adjustment
- Previous repair work
- Factory setting changes
Symptoms
- Water consistently too cool
- Water hotter than expected
How to identify it
Compare both thermostat settings. Most manufacturers recommend approximately 120°F (49°C) for normal household use.
Sediment Buildup
Mineral deposits reduce heating efficiency.
Why it happens
Hard water leaves minerals behind every heating cycle.
Symptoms
- Longer heating times
- Reduced efficiency
- Popping noises
- Higher electricity bills
How to identify it
If the tank has never been flushed and your home has hard water, sediment buildup is a strong possibility.
Safety Precautions Before Troubleshooting
Working on a water heater involves electricity, hot water, and pressurized equipment. Taking a few minutes to prepare safely reduces the risk of injury and prevents accidental damage during diagnosis.
Before beginning any inspection:
- Turn off power at the circuit breaker.
- Verify power is off using a non-contact voltage tester or multimeter.
- Allow the tank to cool if water is excessively hot.
- Wear insulated gloves and safety glasses.
- Keep the work area dry.
- Never touch exposed wiring before testing for voltage.
- Avoid bypassing safety devices or reset switches.
- Replace access covers before restoring power.
- Do not drain the tank unless instructed by the manufacturer or required for the repair.
If you notice melted wiring, smoke, a burning odor, water leaking onto electrical components, or signs of severe corrosion, stop troubleshooting and arrange for professional service. These conditions may indicate more extensive electrical or structural damage.
Tools Required
Having the right tools ready before starting saves time and allows you to diagnose the problem methodically instead of guessing.
| Tool | Purpose |
|---|---|
| Screwdriver set | Remove access panels and thermostat covers |
| Digital multimeter | Test voltage, continuity, and resistance |
| Non-contact voltage tester | Confirm power is disconnected |
| Needle-nose pliers | Handle small wires safely |
| Adjustable wrench | Remove certain fittings if needed |
| Flashlight | Inspect wiring and terminals |
| Work gloves | Protect hands from sharp edges and heat |
| Safety glasses | Protect eyes during inspection |
| Camera or phone | Photograph wiring before disconnecting anything |
Step-by-Step Troubleshooting Guide
Following a logical troubleshooting sequence prevents unnecessary parts replacement. Start with the easiest inspections before moving on to electrical testing.
Step 1: Confirm the Water Heater Has Power
What to inspect
Check the circuit breaker and verify the water heater receives electrical power.
Why it matters
A tripped breaker can imitate thermostat failure.
Expected result
Breaker remains fully ON.
What to do next
Reset the breaker once if necessary. If it trips again, discontinue troubleshooting until the electrical fault is identified.
Step 2: Check Water Temperature Settings
What to inspect
Compare the upper and lower thermostat settings.
Why it matters
Different settings can cause uneven heating.
Expected result
Both thermostats should be set to the same recommended temperature.
What to do next
Adjust both settings equally before continuing diagnosis.
Step 3: Inspect the Reset Button
What to inspect
Remove the upper access panel and locate the high-limit reset button.
Why it matters
A tripped reset interrupts power to both thermostats.
Expected result
The button remains engaged.
What to do next
If it has tripped, press it once. Monitor the heater. Repeated tripping indicates another underlying problem.
Step 4: Inspect Wiring
What to inspect
Look for loose terminals, burned insulation, or corrosion.
Why it matters
Poor electrical connections reduce power to the thermostat and heating elements.
Expected result
Clean, tight wiring with no heat damage.
What to do next
Tighten loose terminals only after confirming power is disconnected. Replace damaged wiring rather than attempting temporary repairs.
Step 5: Test the Thermostat
What to inspect
Use a multimeter according to the manufacturer’s wiring diagram.
Why it matters
The thermostat controls when each heating element receives electricity.
Expected result
Proper continuity and switching behavior.
What to do next
Replace the thermostat if testing confirms it is not operating correctly.
Step 6: Test the Heating Elements
What to inspect
Measure resistance across each heating element.
Why it matters
A failed element often produces symptoms identical to a bad thermostat.
Expected result
Resistance should fall within the manufacturer’s specified range.
What to do next
Replace any element showing an open circuit or abnormal resistance.
🛑 Understand common heater problems 👉 Why Is My Water Heater Pressure Relief Valve Leaking?
Quick Diagnosis Table
This quick-reference table summarizes the most common symptoms, their likely causes, and the next recommended action. It helps homeowners narrow down the issue before purchasing replacement parts or scheduling a repair.
| Symptom | Possible Cause | Recommended Solution |
|---|---|---|
| No hot water | Tripped breaker, faulty upper thermostat, failed upper element | Restore power, test thermostat and upper element |
| Water only lukewarm | Lower thermostat or lower heating element failure | Test lower controls and replace faulty component |
| Water too hot | Thermostat stuck closed | Replace defective thermostat immediately |
| Water temperature fluctuates | Thermostat switching problem or loose wiring | Inspect wiring and test thermostat operation |
| Hot water runs out quickly | Failed lower heating element or sediment buildup | Test element and flush the tank if needed |
| Reset button keeps tripping | Overheating thermostat, wiring fault, or shorted element | Diagnose electrical components before resetting again |
| Burning smell near heater | Loose or damaged electrical connection | Turn off power and inspect wiring before further use |
| Heater takes too long to recover | Sediment buildup, weak heating element, or thermostat issue | Inspect heating elements, thermostat, and tank condition |