
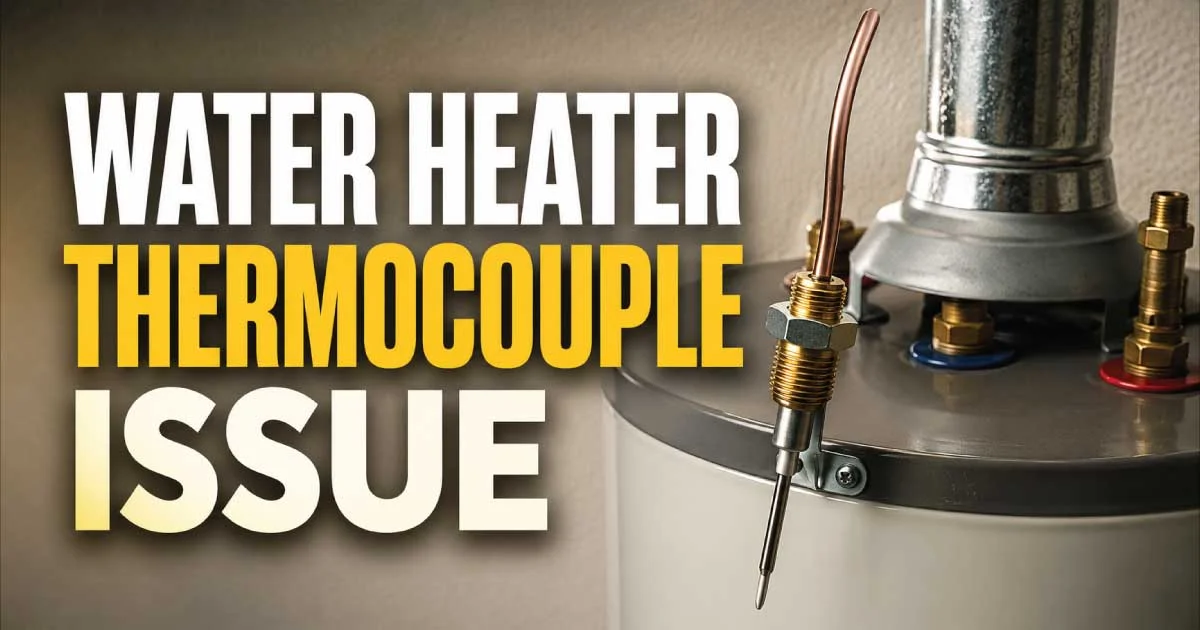
A reliable water heater is one of the most important appliances in any home. When it works, we hardly notice it. When it fails, daily life quickly becomes uncomfortable. One of the most common and misunderstood reasons a gas water heater stops working is a thermocouple issue.
If your pilot light keeps going out, your water heater won’t stay lit, or you suddenly have no hot water, the thermocouple is often the culprit. In this blog post, we will break down everything you need to know about water heater thermocouple problems—what a thermocouple does, why it fails, how to diagnose it, and whether you should repair or replace it yourself.
What Is a Thermocouple in a Water Heater?
The thermocouple is one of the most important safety components in a gas water heater, helping ensure safe and reliable operation. Although it is small and often overlooked, this device continuously monitors the pilot flame and controls the gas supply to prevent dangerous gas leaks.
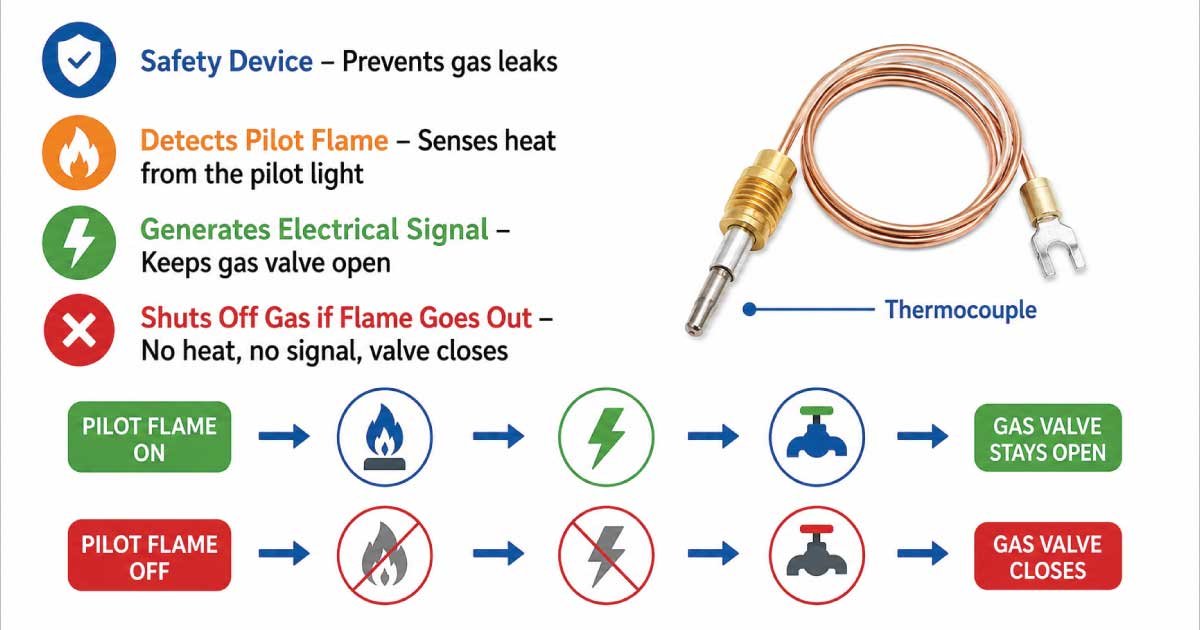
A thermocouple is a small but critical safety device used in gas water heaters. Its main job is to detect whether the pilot flame is burning. When the pilot flame is lit, the thermocouple senses heat and generates a small electrical current. This current signals the gas valve to stay open, allowing gas to flow.
If the pilot flame goes out, the thermocouple cools down, stops generating electricity, and tells the gas valve to shut off. This prevents unburned gas from leaking into your home—a vital safety function.
In short:
- Pilot flame on → Thermocouple sends signal → Gas valve stays open
- Pilot flame off → No signal → Gas valve closes
If the thermocouple fails, your water heater may shut down even when everything else seems fine.
How to Replace a Water Heater Thermocouple
Replacing a faulty thermocouple is often a straightforward repair that can restore normal water heater operation without significant expense. With the proper tools, careful attention to safety, and the correct replacement part, many homeowners can successfully complete this repair and avoid more costly service calls.
Tools You’ll Need
Before beginning the replacement process, gather all the necessary tools and materials to avoid interruptions. Having everything ready makes the job safer, more efficient, and reduces the risk of damaging components during disassembly or reinstallation.
- Adjustable wrench
- Screwdriver
- Replacement thermocouple
- Soapy water (for leak testing)
Step-by-Step Replacement
Following the correct replacement procedure helps ensure the new thermocouple functions properly and the gas system remains safe. Complete each step carefully, double-check all connections, and never restore the gas supply until the assembly has been fully reinstalled.
- Turn off the gas supply
Shut off the gas valve completely before starting. - Turn off the water heater
Set the control knob to the “OFF” position. - Remove the burner assembly
Unscrew the access panel and carefully remove the burner assembly. - Disconnect the old thermocouple
Loosen the nut connecting it to the gas valve and remove it from the bracket. - Install the new thermocouple
Position the tip in the pilot flame area and tighten the connection snugly (not overly tight). - Reassemble the unit
Return the burner assembly to its original position. - Restore gas and test
Turn the gas back on, relight the pilot, and check all connections for leaks.
Most thermocouples cost between $10 and $25, making this one of the most cost-effective fixes in home maintenance.
🛑 Check common water heater problems 👉 Complete Water Heater Problems Guide (Fix All Issues)
Universal vs. Manufacturer-Specific Thermocouples
Selecting the correct replacement thermocouple is essential for ensuring safe and reliable water heater operation. While many gas water heaters accept universal thermocouples, some models require manufacturer-specific parts to maintain proper performance, compatibility, and compliance with the manufacturer’s design specifications.
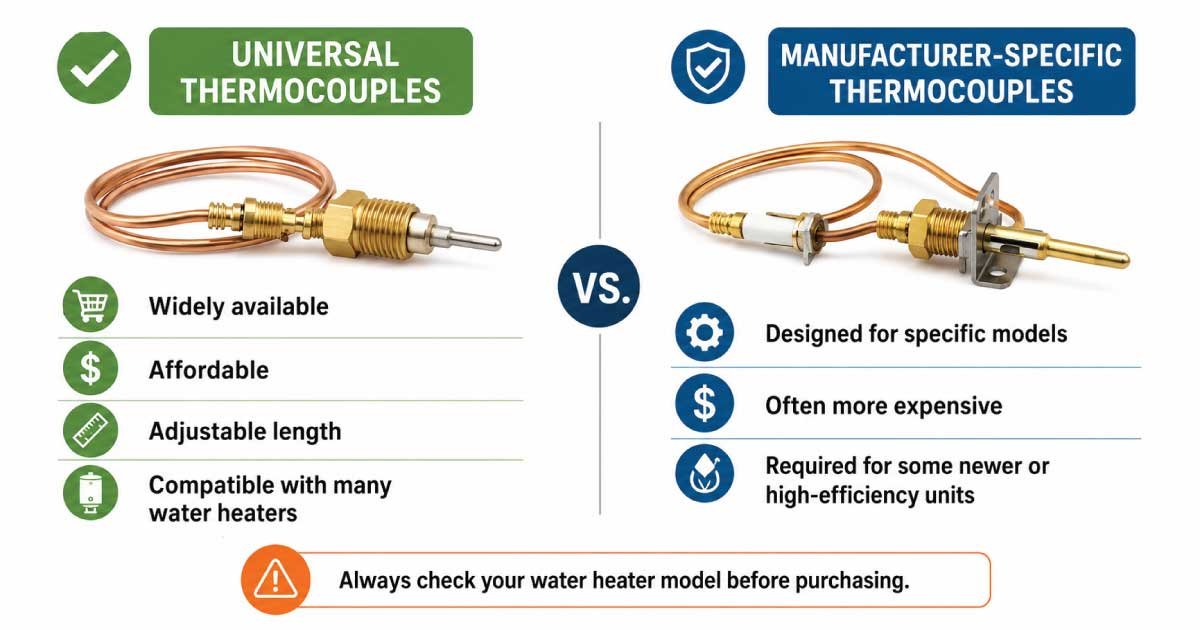
Universal Thermocouples
Universal thermocouples are a popular choice because they fit a wide variety of gas water heaters. Their versatility, affordability, and adjustable sizing make them suitable for many standard residential models without requiring an exact manufacturer replacement.
- Widely available
- Affordable
- Adjustable length
- Compatible with many water heaters
Manufacturer-Specific Thermocouples
Some water heaters require thermocouples designed specifically for their brand or model. These replacement parts are engineered for precise compatibility and are commonly used in newer, high-efficiency, or specialized water heater systems.
- Designed for specific models
- Often more expensive
- Required for some newer or high-efficiency units
Always check your water heater model before purchasing.
When Thermocouple Replacement Doesn’t Work
If installing a new thermocouple does not resolve the problem, another component within the water heater may be responsible. A thorough inspection can identify underlying issues that produce similar symptoms and determine whether additional repairs or replacement are necessary.
Consider these possibilities:
- Defective gas control valve
- Clogged pilot orifice
- Improper venting
- Draft issues in the utility area
- Failing water heater nearing end of life
At this point, professional inspection is recommended.
Safety Considerations
Working on gas-powered appliances requires careful attention to safety at every stage of the repair process. Following proper procedures helps reduce the risk of gas leaks, fire hazards, equipment damage, and carbon monoxide exposure while ensuring your water heater operates safely.
Always remember:
- Never force gas connections
- Do not overtighten fittings
- If you smell gas, stop immediately
- Ensure proper ventilation
- Follow manufacturer instructions closely
If you feel unsure at any point, it’s better to call a licensed technician than risk gas leaks or carbon monoxide exposure.
Preventing Future Thermocouple Problems
Routine maintenance is the most effective way to extend the lifespan of a thermocouple and reduce unexpected water heater failures. Keeping key components clean, ensuring proper airflow, and scheduling regular inspections can improve reliability, enhance safety, and minimize the need for costly emergency repairs.
Regular maintenance can extend thermocouple life:
- Clean the burner and pilot annually
- Keep the area around the heater dust-free
- Ensure proper ventilation
- Schedule yearly inspections
- Replace aging components proactively
Preventive care often saves more money than emergency repairs.
Should You Repair or Replace the Entire Water Heater?
When a water heater develops recurring problems, it’s important to compare the cost of repairs with the benefits of replacement. Factors such as the unit’s age, overall condition, energy efficiency, and repair history can help determine the most practical and cost-effective solution.
Consider replacement if:
- The unit is over 10–12 years old
- Repairs are becoming frequent
- Energy efficiency is poor
- Rust or tank leaks are present
Replacing a thermocouple makes sense for relatively newer units in good condition.
Final Thoughts
A water heater thermocouple issue can be frustrating, but it’s also one of the simplest and least expensive problems to fix. Understanding how the thermocouple works, recognizing the symptoms of failure, and knowing how to diagnose and replace it can save you time, money, and unnecessary stress.
For homeowners comfortable with basic tools, thermocouple replacement is often a straightforward DIY task. For others, a professional repair is still affordable and fast. Either way, addressing thermocouple problems promptly restores hot water and keeps your home safe.
A small component plays a big role and when it fails, knowing what to do makes all the difference.